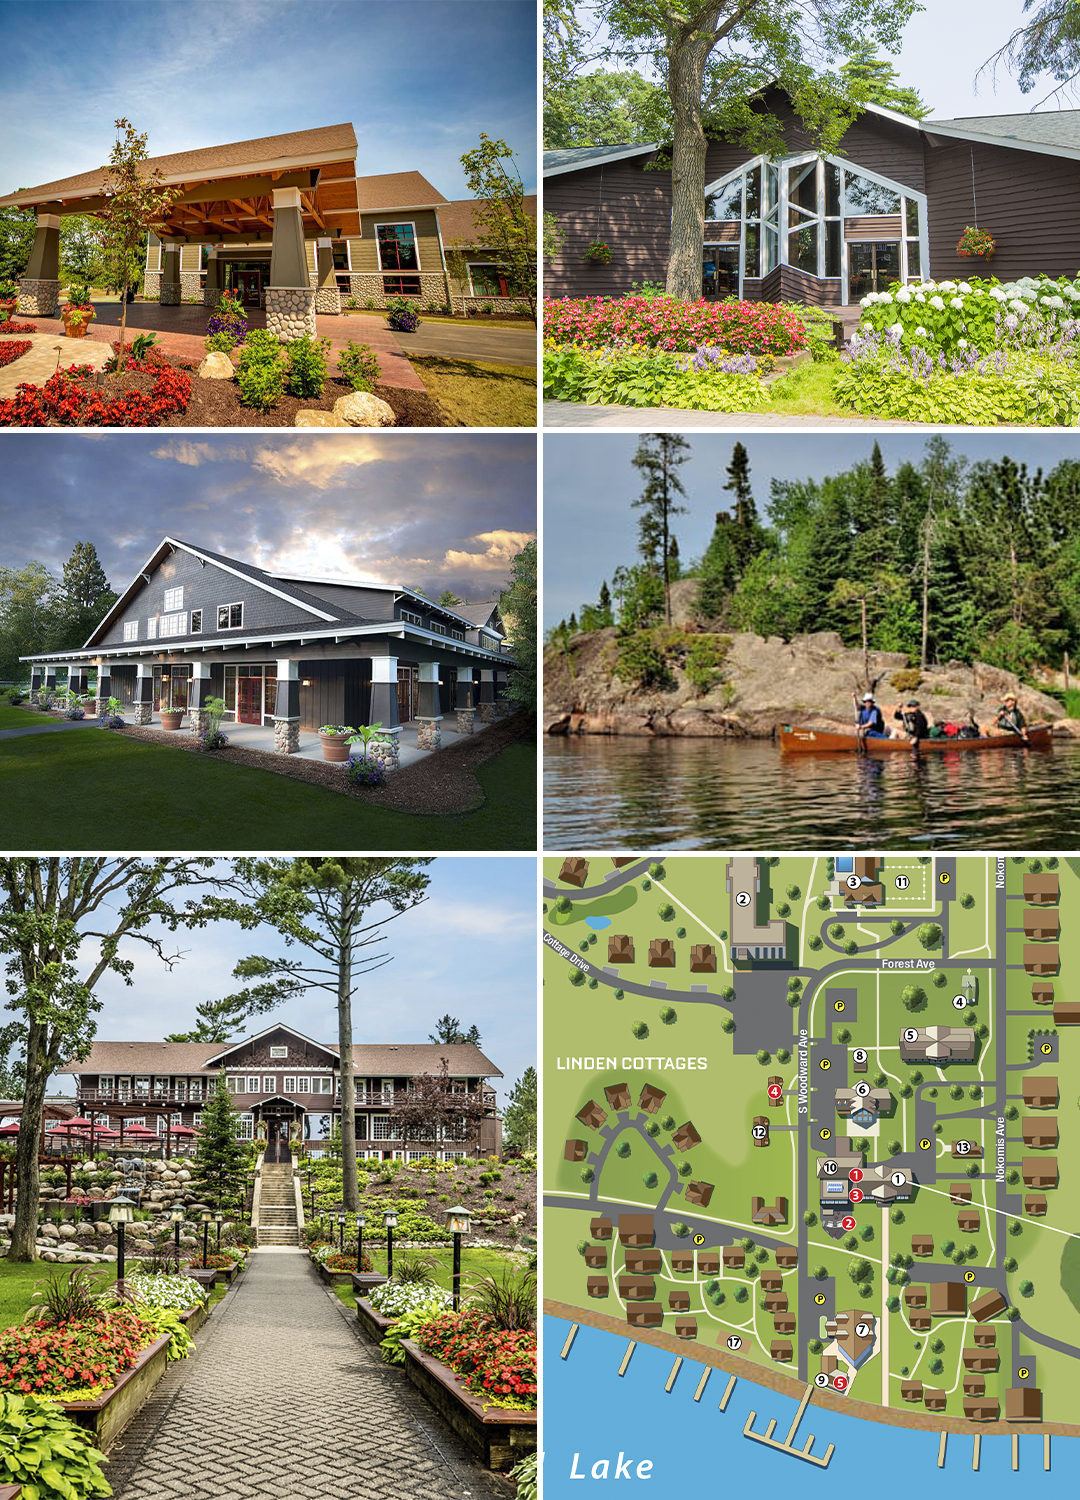
1. REFERENCE
Images of all locations and icons are gathered. These can be provided by the client, but I almost always supplement with some different angles to help visualize the whole location. Also good to have options in case one angle doesn't work as well.
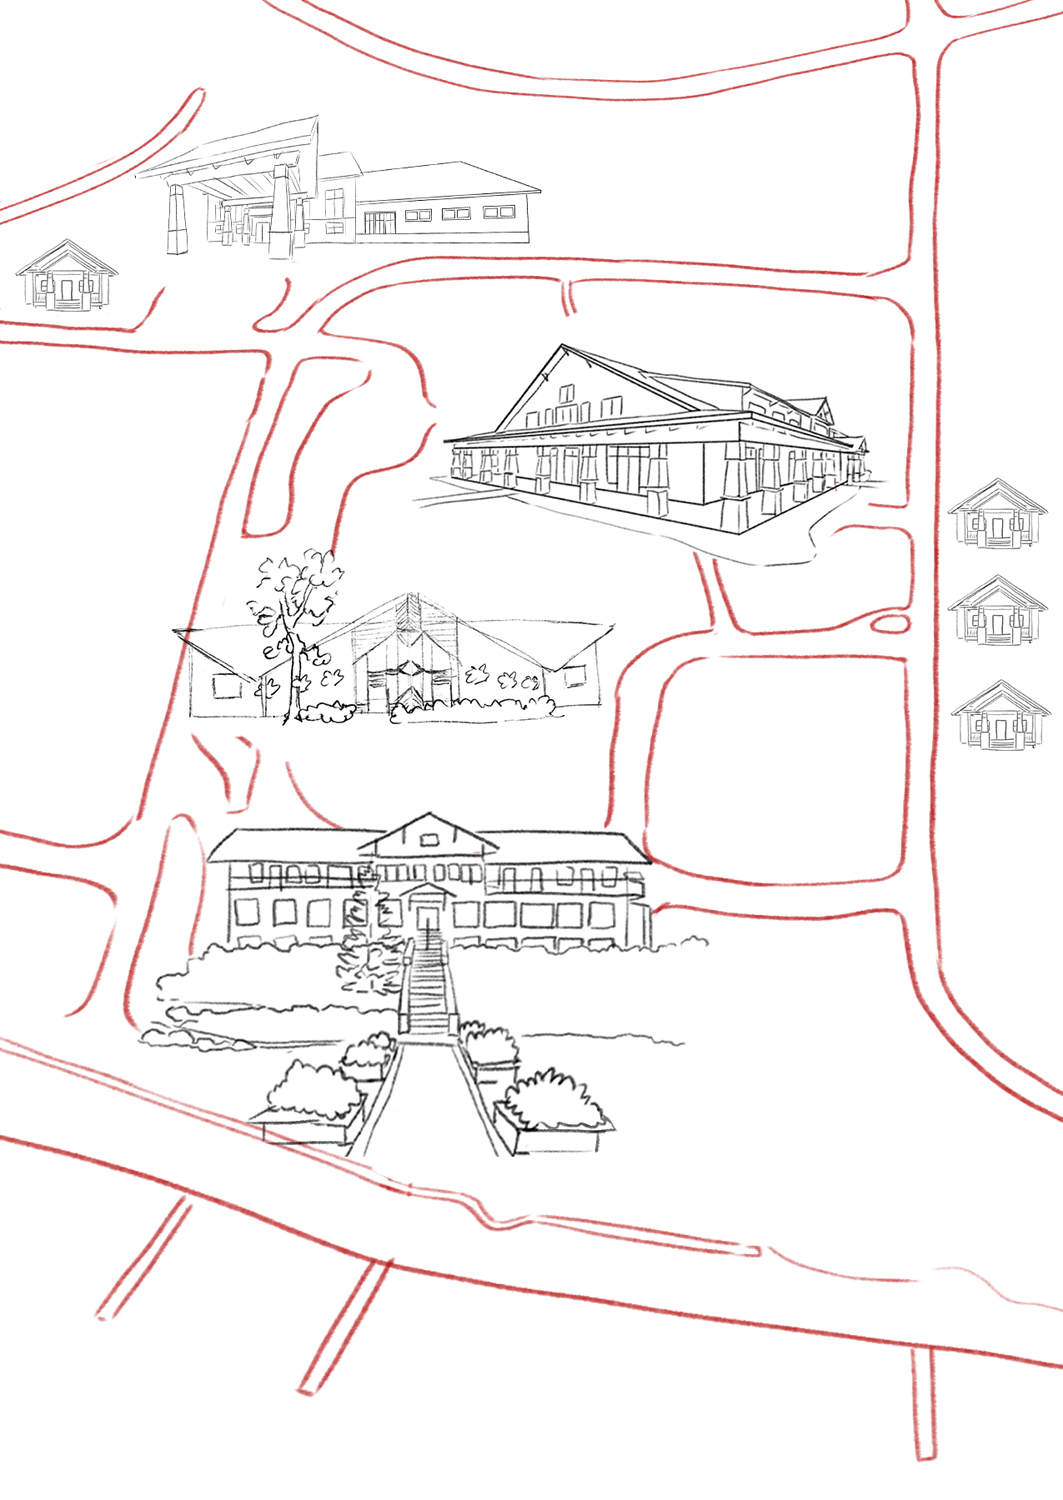
2. INITIAL DRAFT
The first draft is a rough draft. It may be a digital or pencil sketch or combination. The important step here is the establish the layout, sizing, and check all the wording. I usually try not to get too into details here unless I feel it's needed for clarification.
3. DRAFT ADJUSTMENTS
Corrections are made after getting feedback from the client. In this example everything was redrawn for consistency. Landscaping and text were added, as well as some rough color.
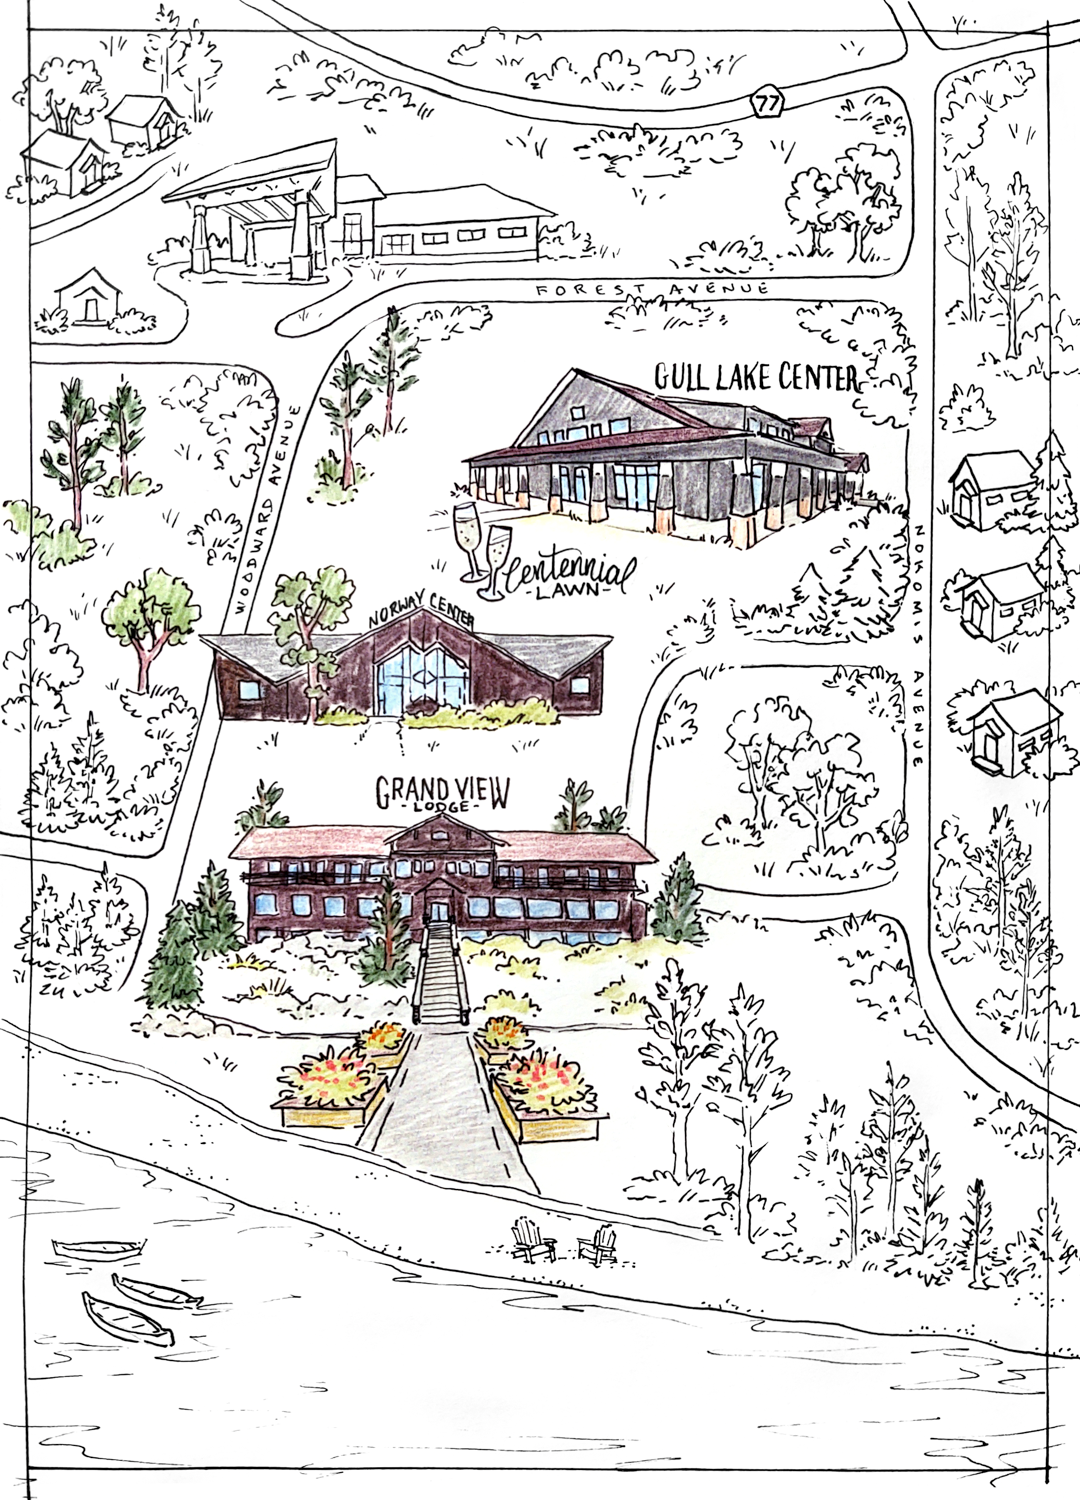
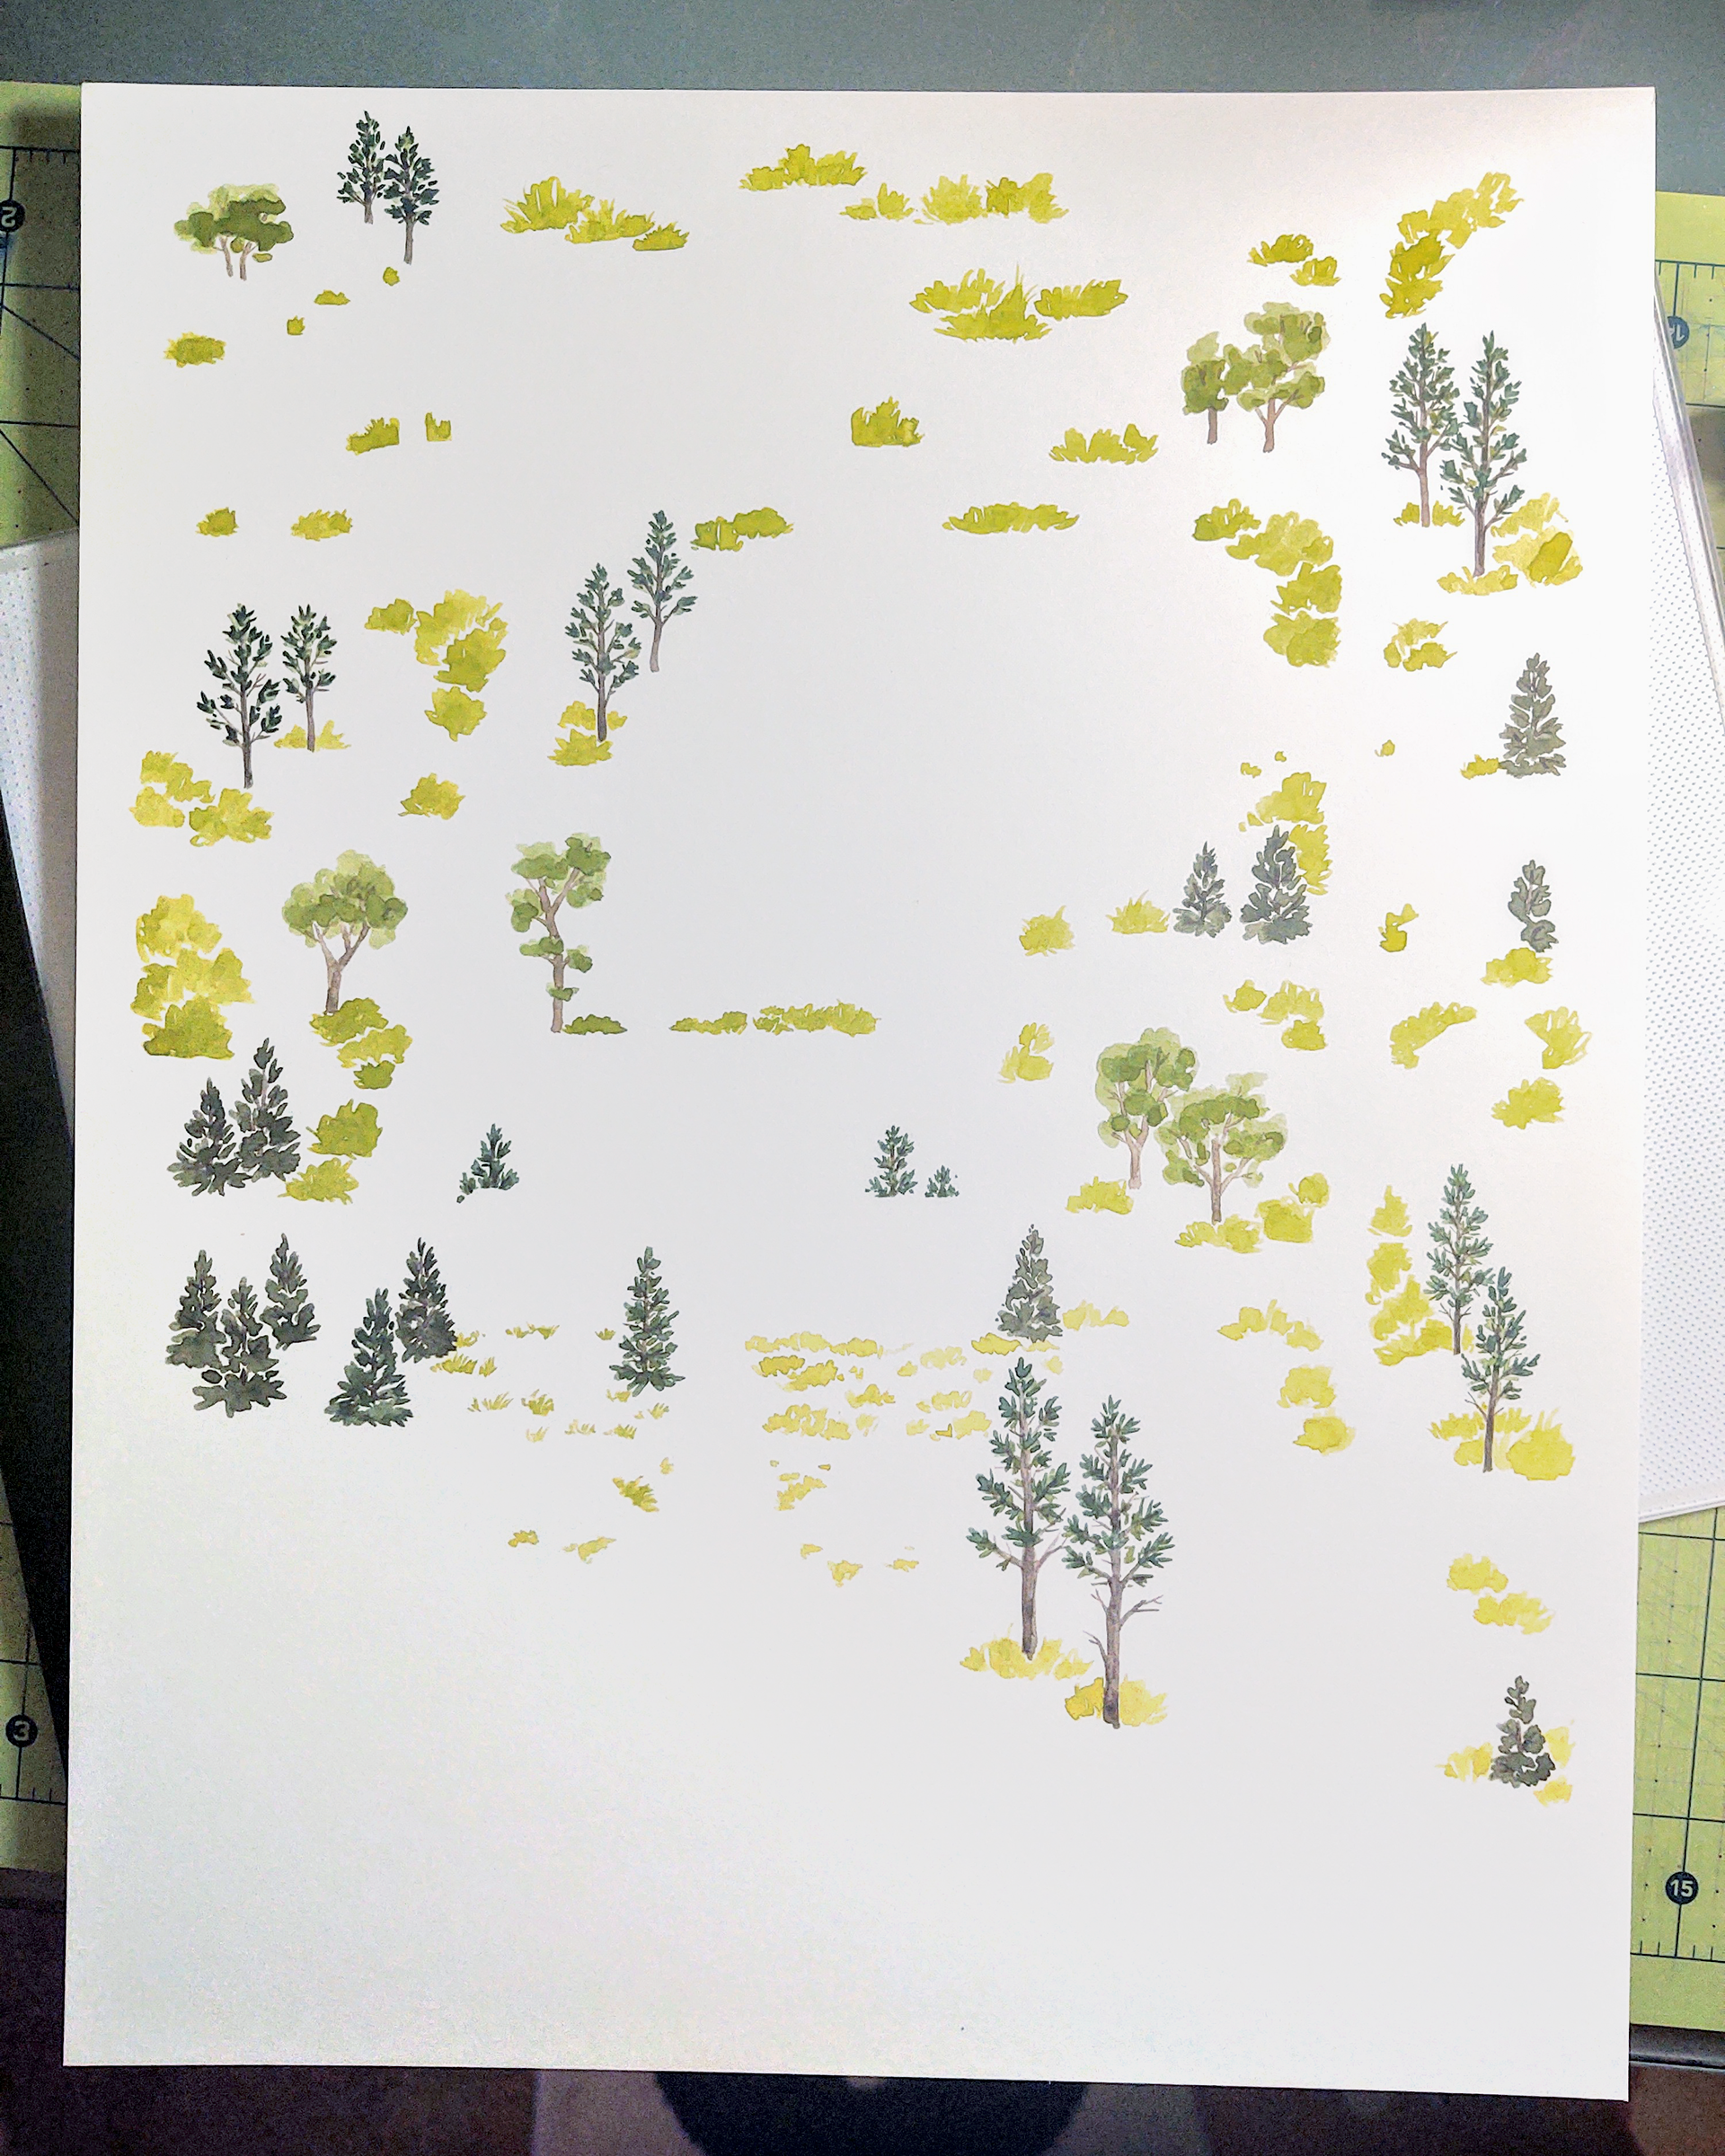
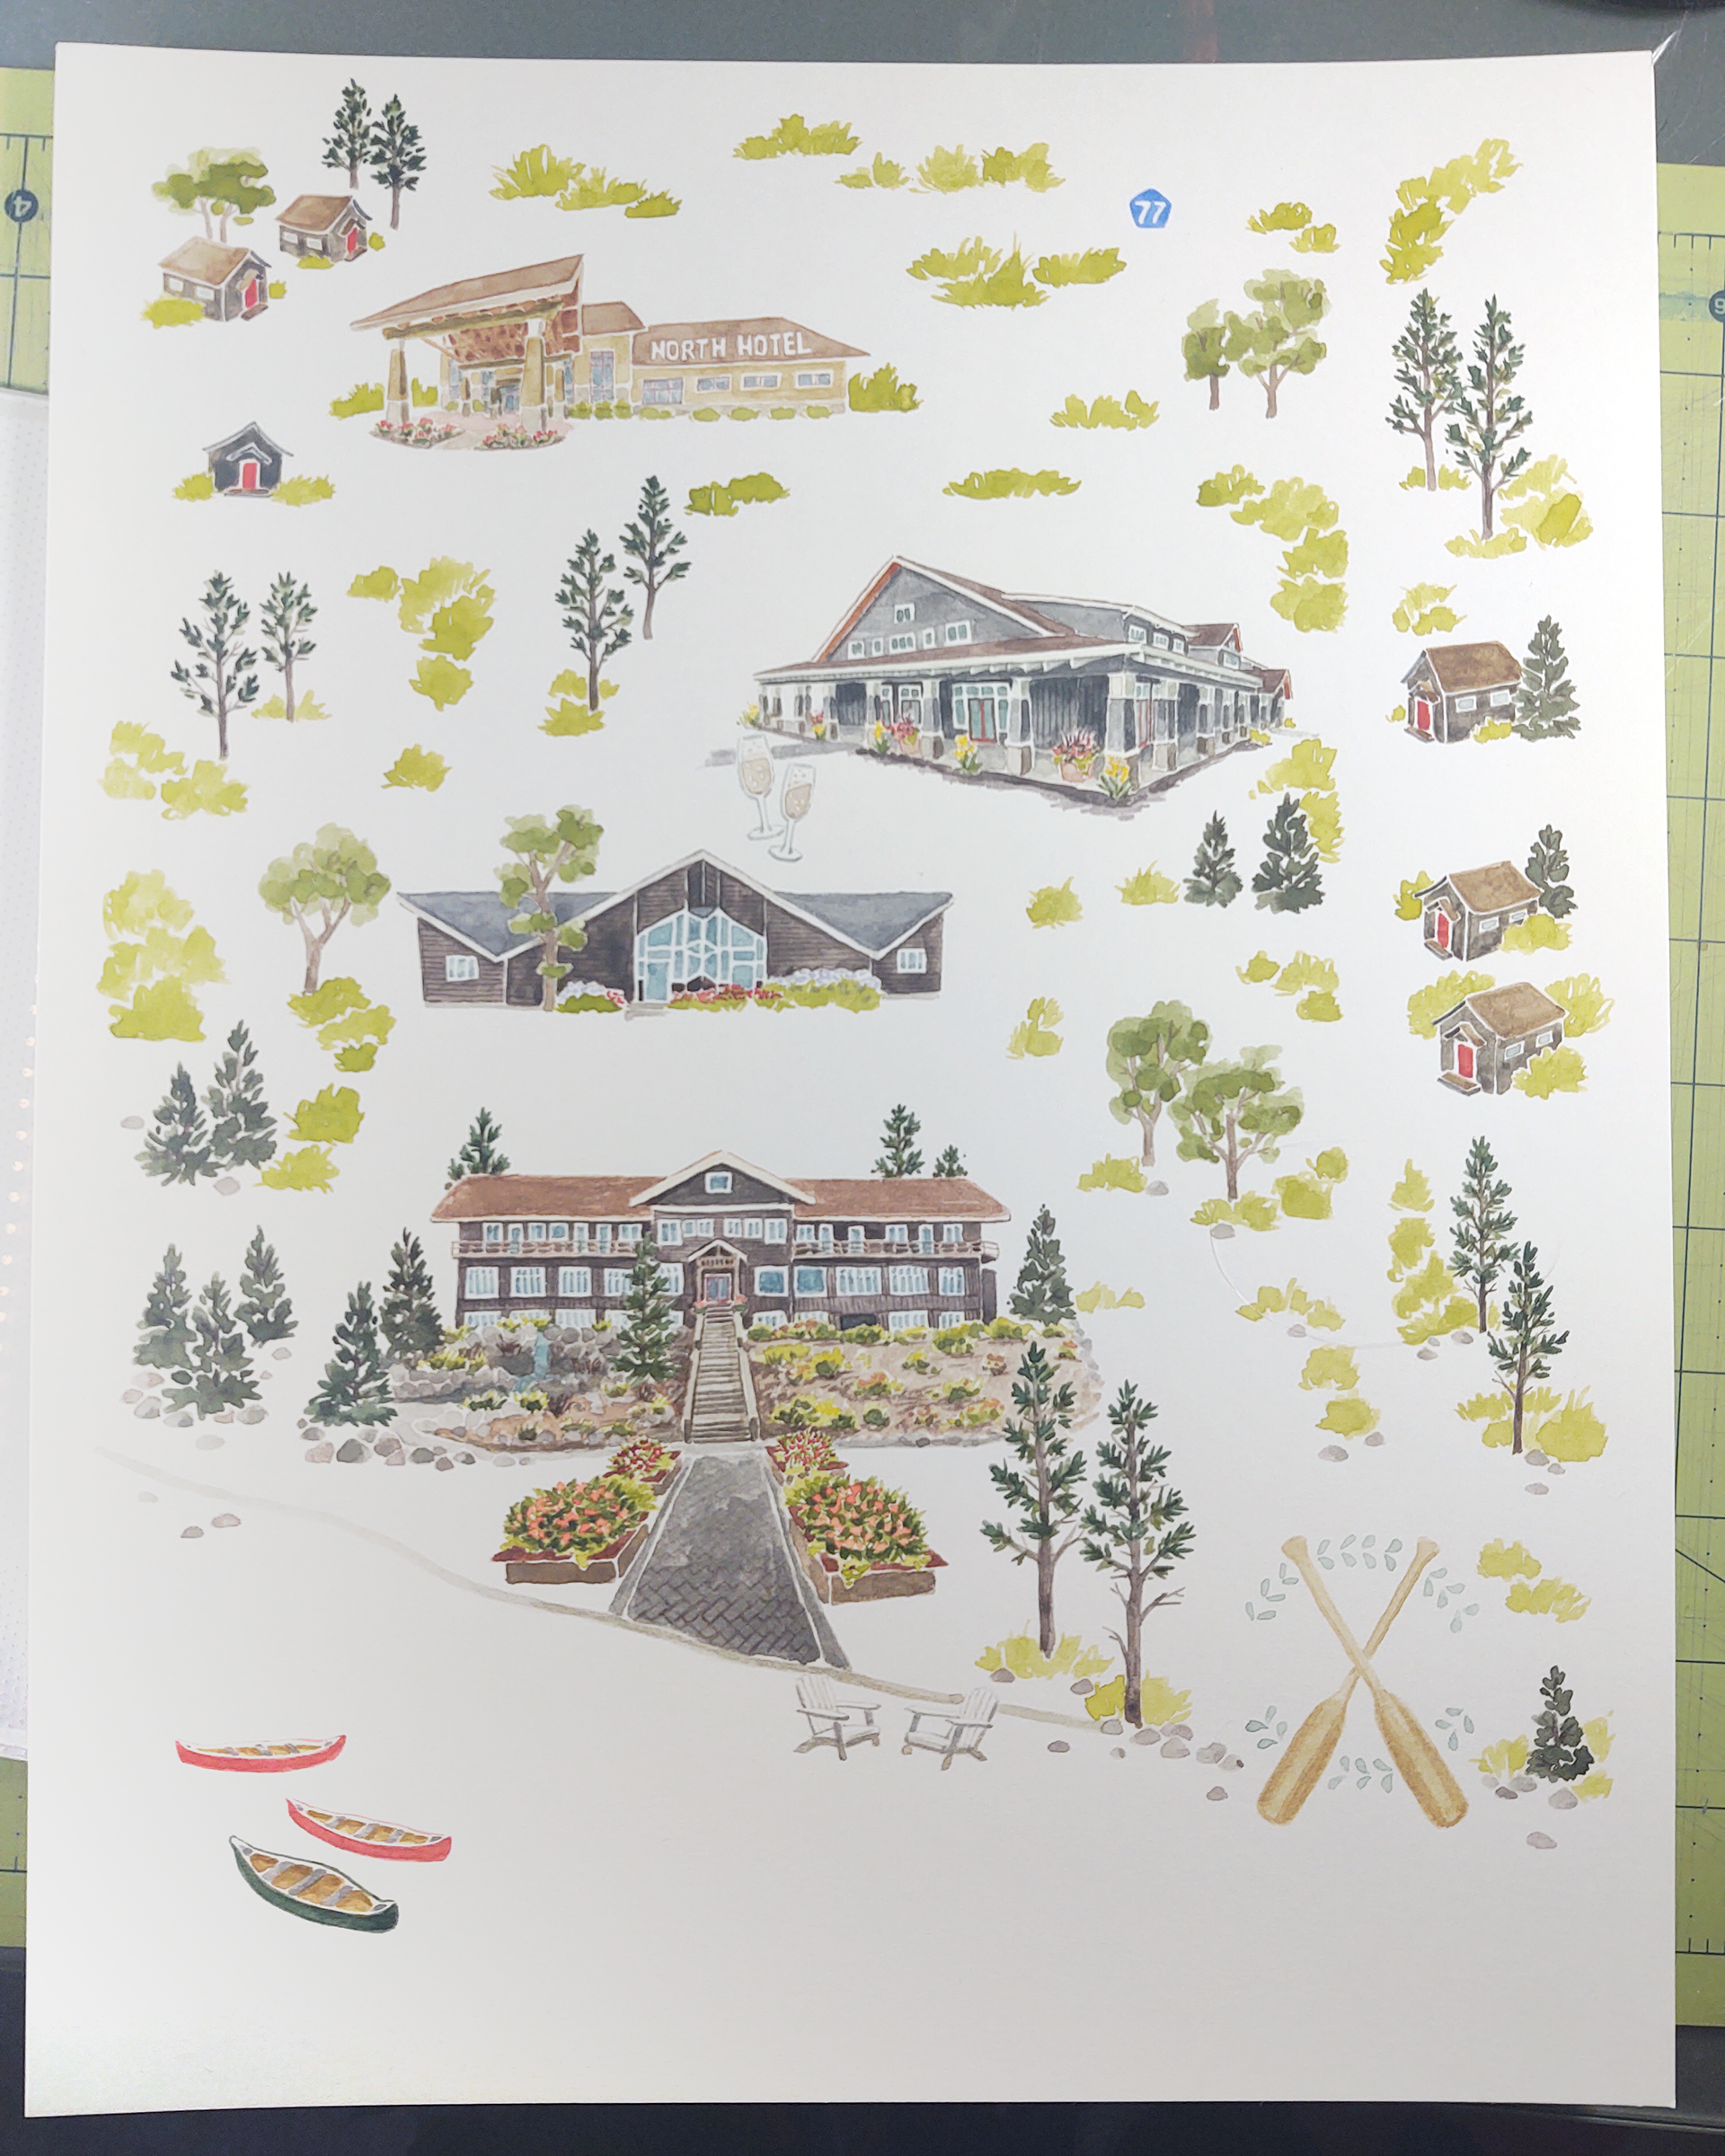
4. DETAILED DRAWING
Once the draft is approved, I go over the whole image and draw all the details in a rough color. In this case, there were some further adjustments to the text and a monogram was added. A sample of the color is done in a mix of pencil and digital.
For the client, it is important at this step to make sure everything is perfect - especially spelling. Once this is approved the final is created, and while a digital copy can always be adjusted, the original hard copy if being mailed to the client can not!
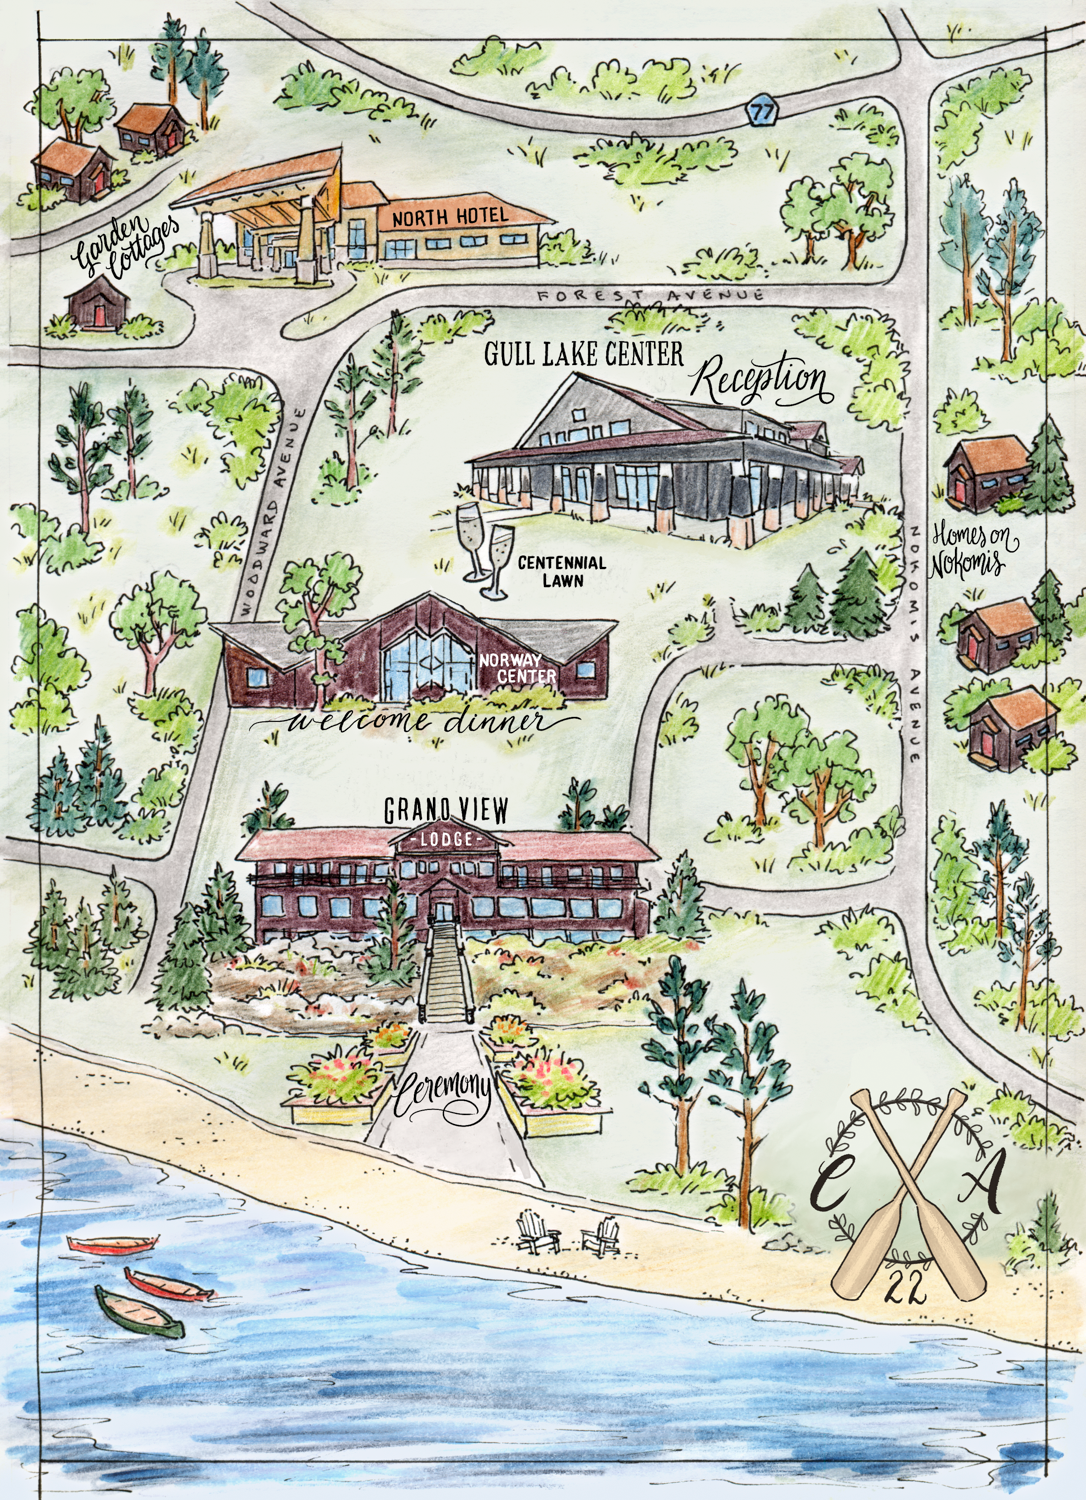
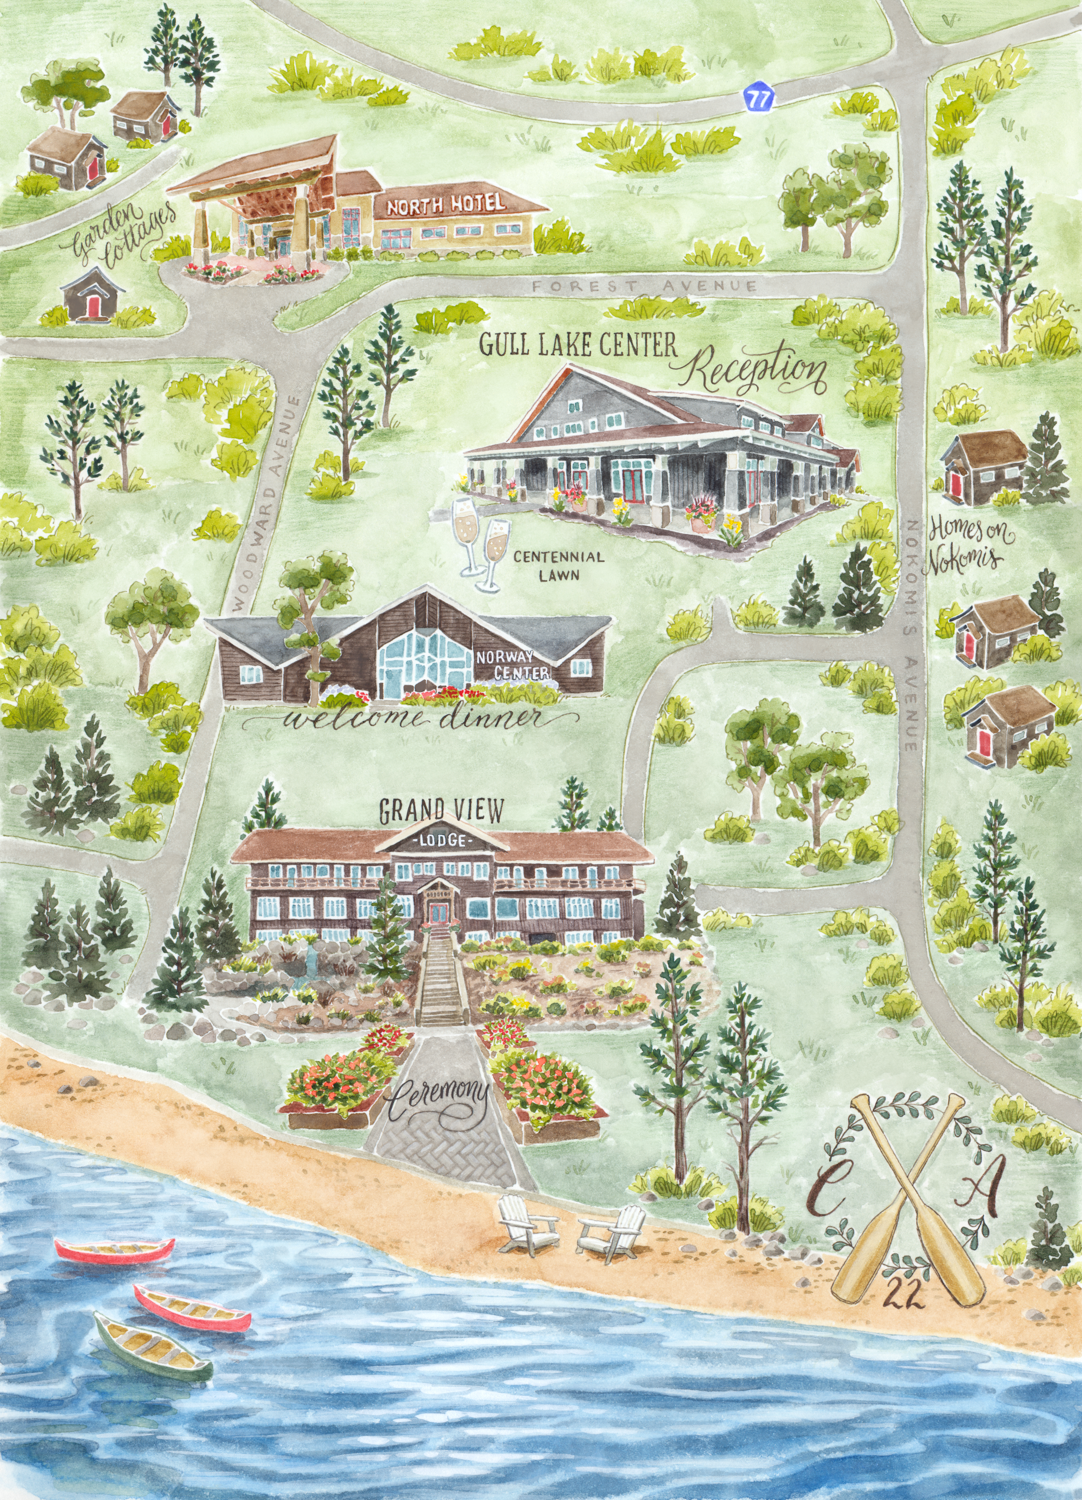
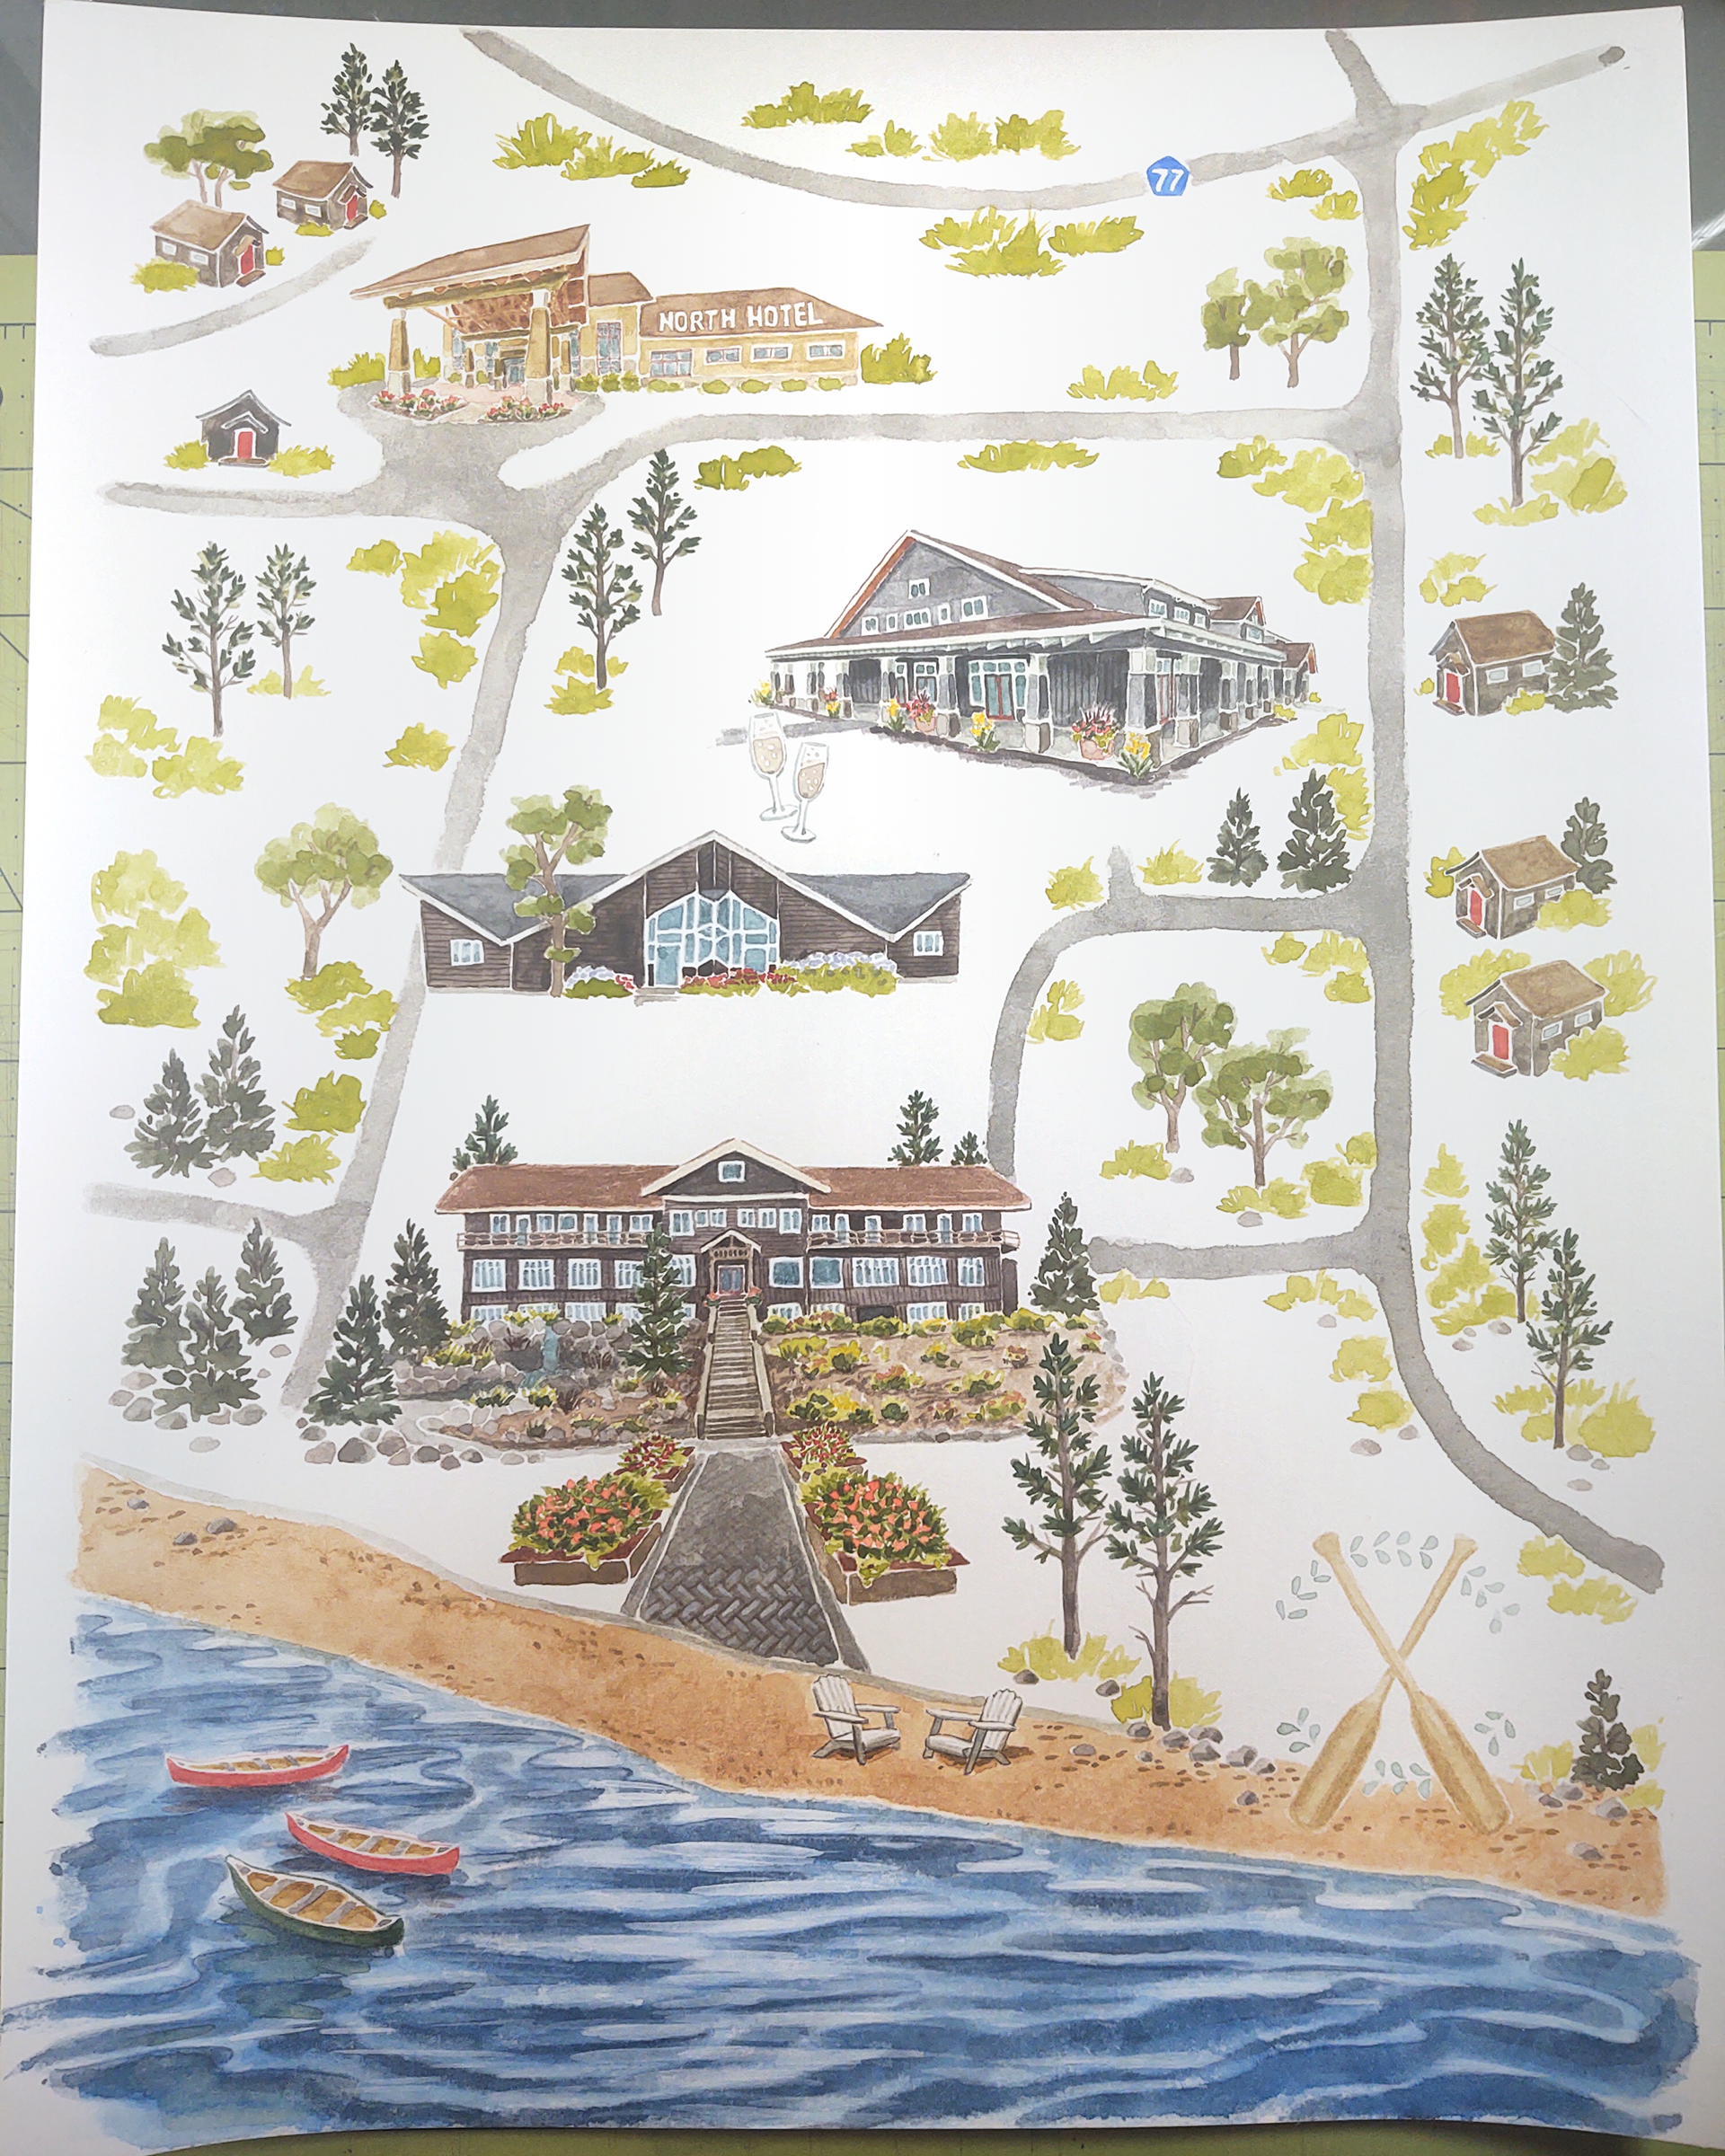
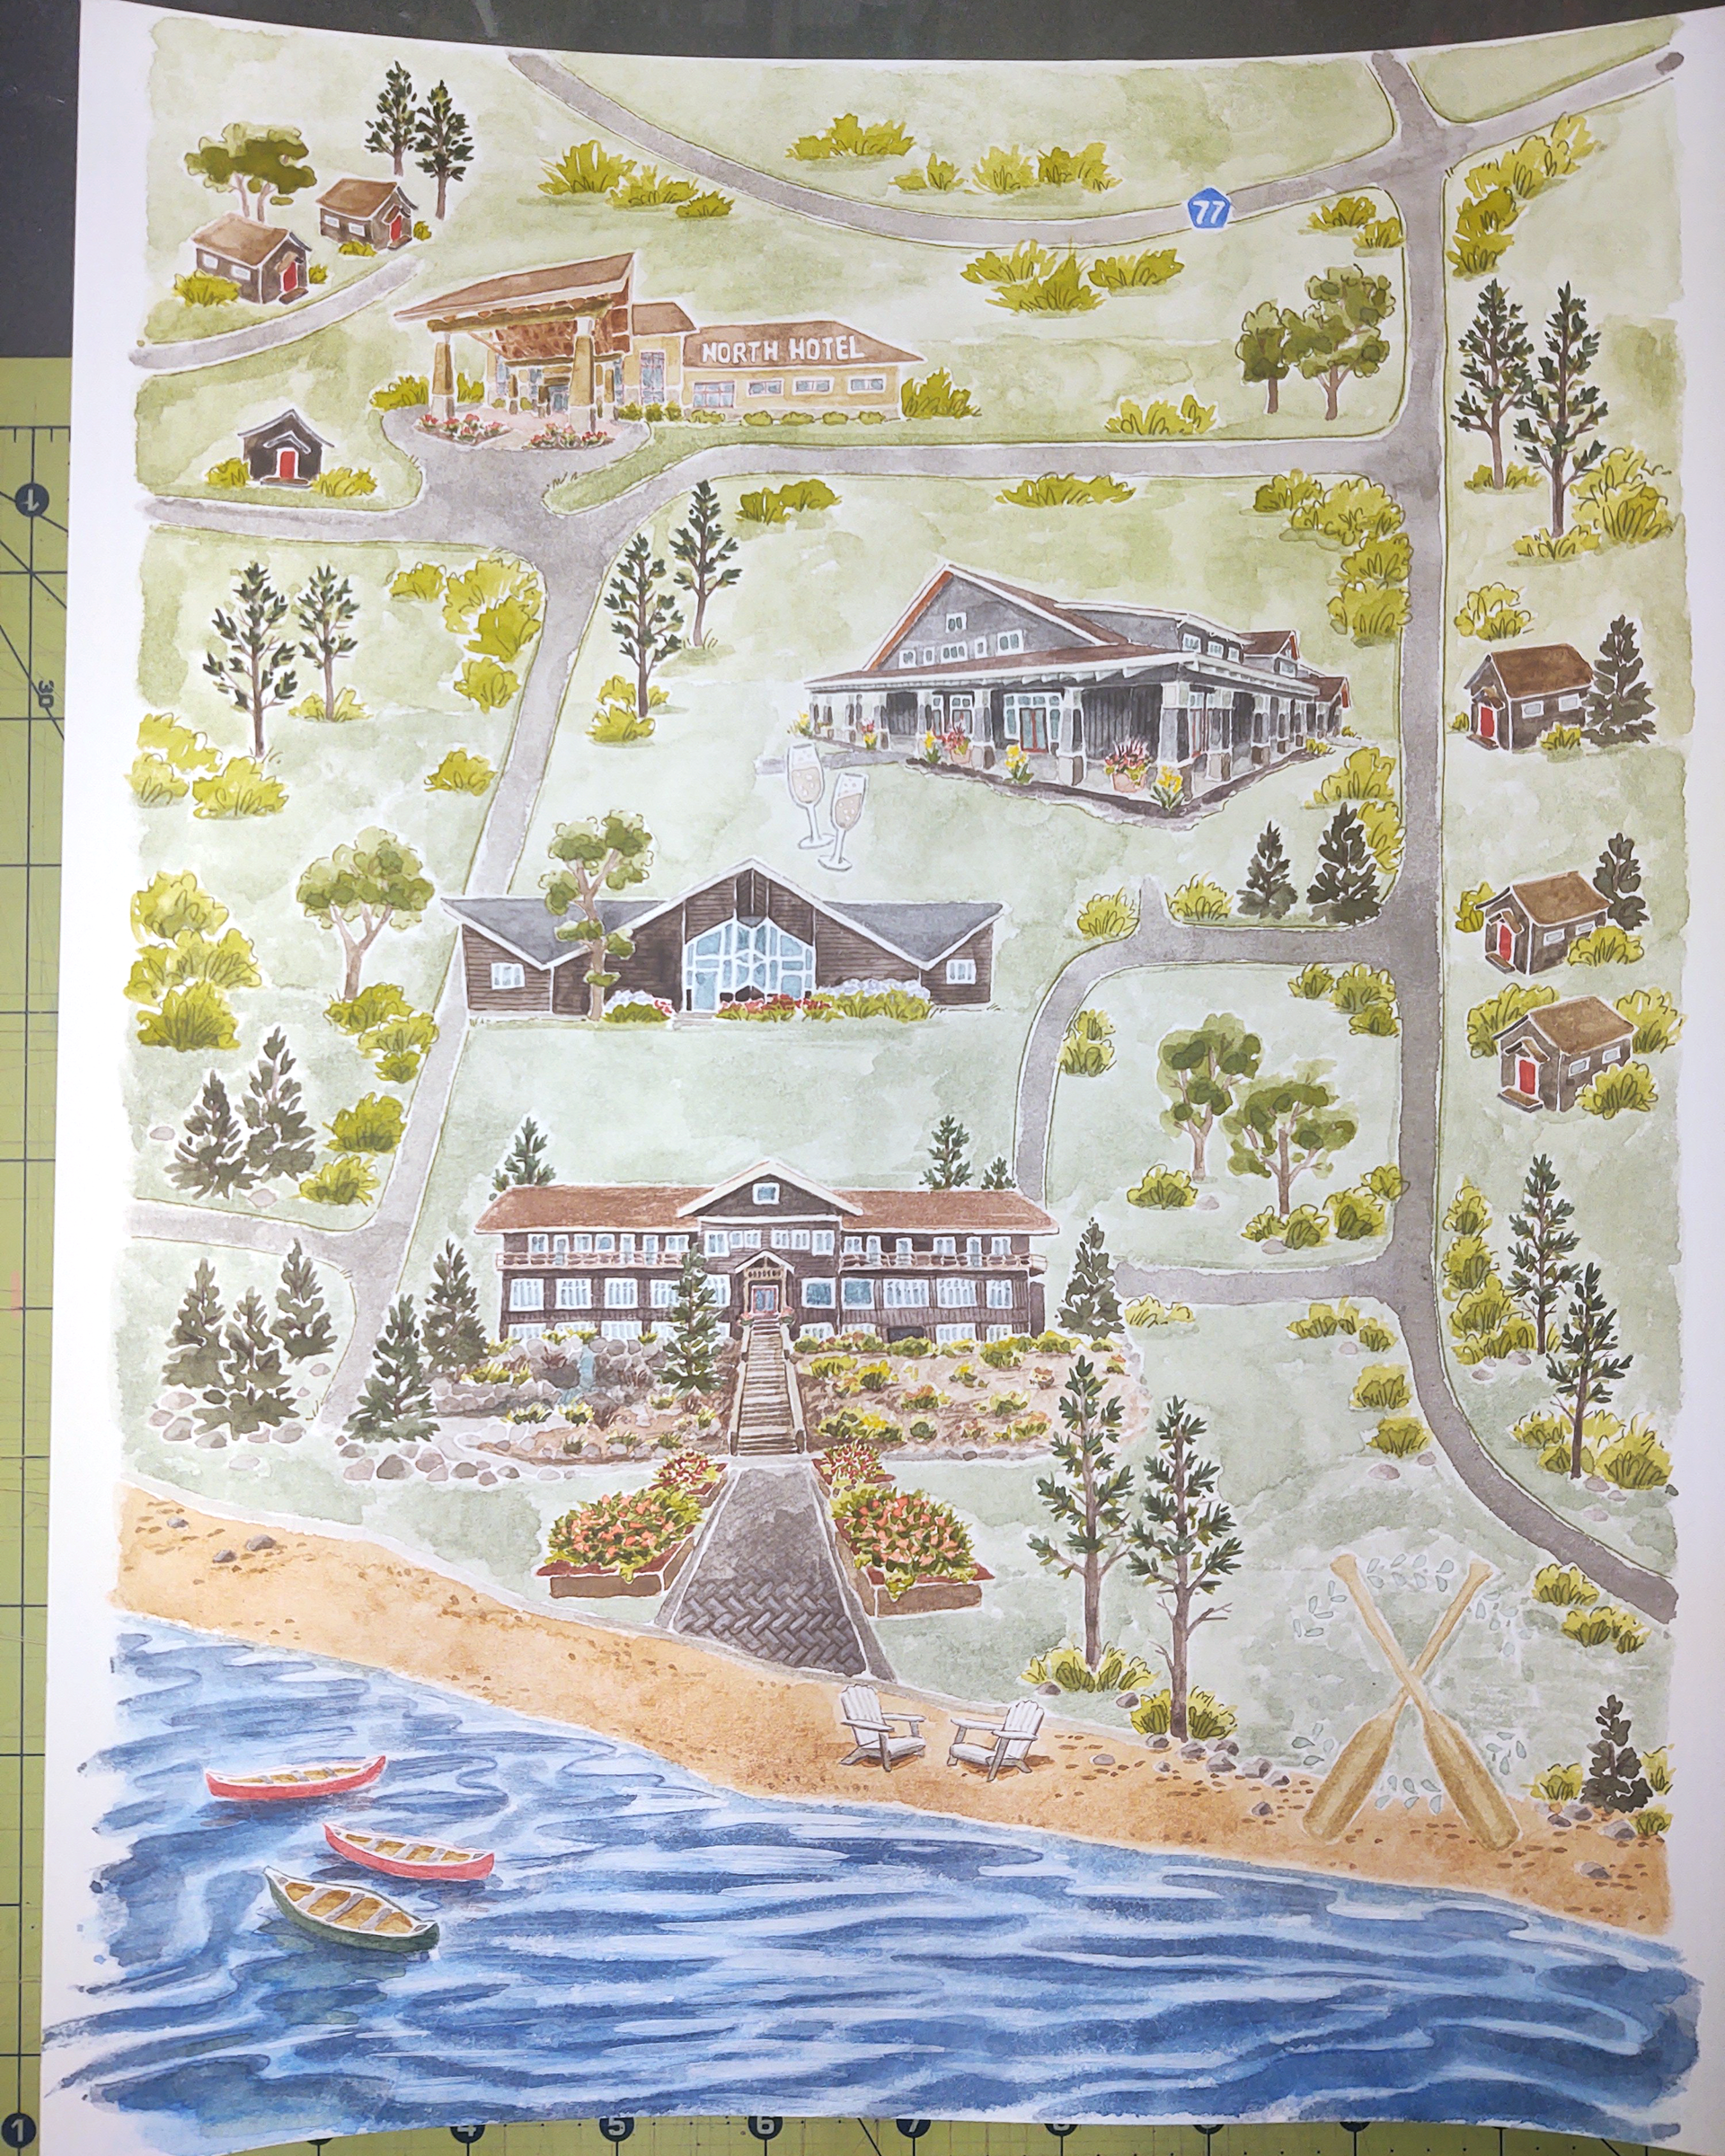
6. FINAL
The final image is created! The outcome and precise process can vary mostly depending on how the lines are done! In this case, hardly any lines are drawn and instead everything is painted to rely more on the shapes (with the help of a lightbox so I can see the drawing through the paper!). The final is much softer and really highlights the darker details of the buildings, text, and pine trees - while the landscape and road fade into the background.
The client will first receive a high-resolution copy of the image via email. If desired, the original hard copy is mailed to the client. It's a great memento of the event!